
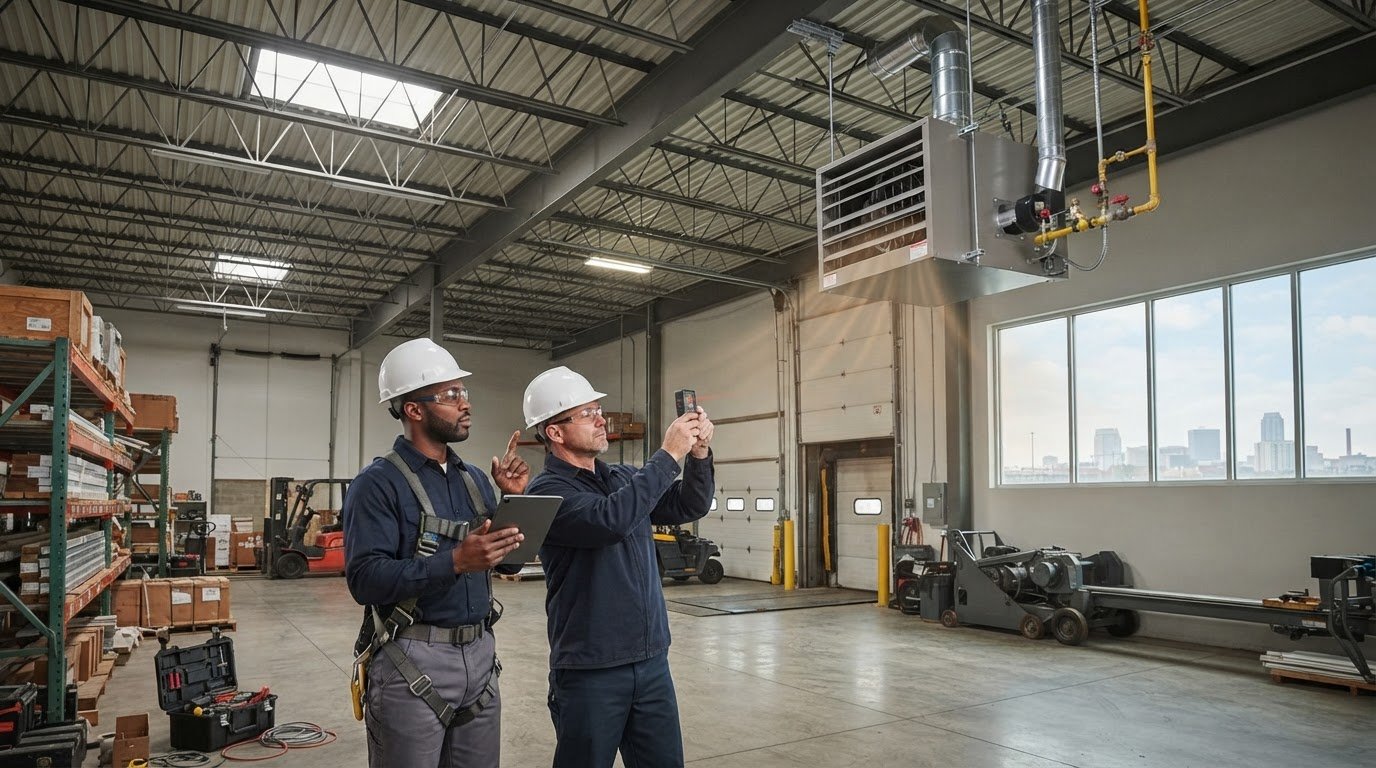
A heater’s position is part of the installation plan, not a finishing detail. Unit heater placement should account for floor clearance and follow the applicable installation instructions. The setup also needs to suit the building’s heating requirements, mounting location, venting, and available service access.
Reliable heat depends on choosing equipment that suits the space and supports daily operations. For commercial buildings in Kansas City, unit heater installation requires balancing coverage, ceiling height, airflow, and maintenance access, rather than treating the heater as a standalone component.
This article explains the main planning decisions, including heater placement, mounting-height limits for specific models, venting considerations, and electrical requirements. You’ll also see how to prepare for installation and identify the details that shape a setup for a warehouse, restaurant, gas station, or other commercial building.
Key Takeaways
- Keep burners and ignition sources at least 18 inches above the floor when planning the heater location.
- Match mounting height to the specific unit model; maximum heights vary across the listed heater series.
- Plan vent termination and condensate drainage as part of the layout, not as afterthoughts.
- Account for venting configuration and wiring requirements when coordinating the installation.
- Consider how the heating setup will work alongside the building’s commercial air-conditioning equipment.
Unit heater installation
Commercial unit heater installation starts with the building layout, not the mounting hardware. Account for heating demand, ceiling height, work areas, vent routing, and access for service. An open warehouse, a restaurant receiving area, and a gas station with frequent door openings each present different placement needs. These conditions determine where a heater can serve the space and how its components should connect.
Plan the heater location and mounting height
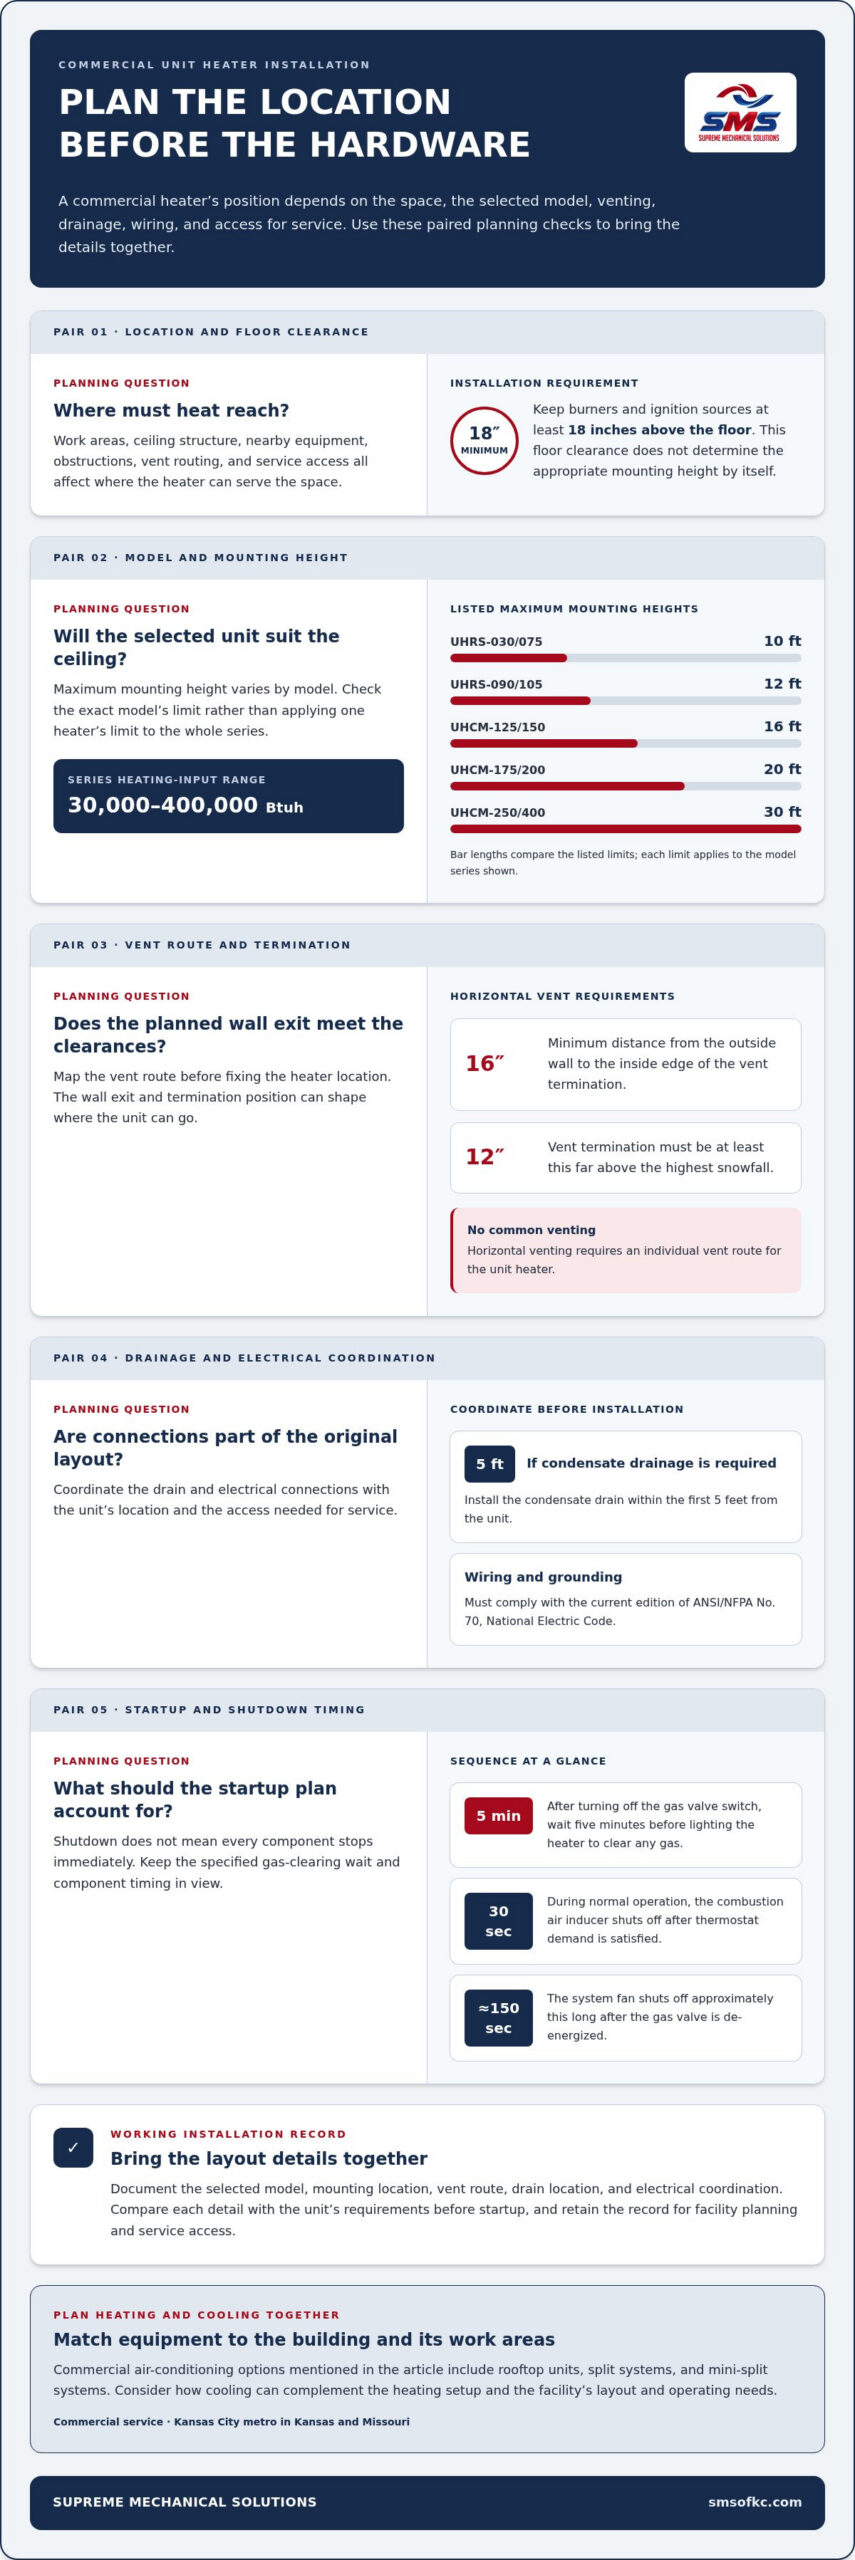
First, identify the area the heater must serve and the location’s physical constraints. Check the ceiling structure, nearby equipment, potential obstructions, and access needed for service. Follow the unit heater’s installation requirements for burner and ignition-source clearance from the floor. This minimum clearance is a fixed installation requirement, not a substitute for choosing an appropriate mounting height.
Maximum mounting height depends on the unit model. The listed limits for the specified series are:
- UHRS-030/075 unit heaters: 10 feet.
- UHRS-090/105 unit heaters: 12 feet.
- UHCM-125/150 unit heaters: 16 feet.
- UHCM-175/200 unit heaters: 20 feet.
- UHCM-250/400 unit heaters: 30 feet.
Use the exact model when applying a mounting-height limit. For example, the 10-foot maximum applies to UHRS-030/075 models, not to every unit heater. The UH(RS,CM) series spans heating inputs from 30,000 to 400,000 Btuh. That range illustrates why location and mounting decisions must follow the selected equipment’s specifications. A high ceiling alone doesn’t establish a suitable mounting point.
Coordinate venting and drainage
Next, map the vent route before finalizing the unit location. For horizontally vented heaters, the inside edge of the vent termination must remain at least 16 inches from the outside wall. The specified vent termination must also sit at least 12 inches above the highest snowfall. These clearances affect where the heater can go and whether the planned wall exit works.
Horizontal venting has another defined limit: common venting of the unit heater isn’t allowed. Plan an individual vent route for the heater rather than combining it with another unit’s vent. If the heater requires a condensate drain, install the drain within the first 5 feet from the unit. That distance makes drain routing part of the original layout, alongside the vent path and mounting position.
Coordinate electrical work and startup
Wiring and grounding for unit heaters must comply with the current edition of ANSI/NFPA No. 70, National Electric Code. Include electrical connections in the installation plan so they coordinate with the unit’s location and access requirements. A complete plan brings mounting, venting, drainage, wiring, and service access together before equipment is fixed in place.
Startup procedures also matter. Before lighting the heater, wait five minutes after turning off the gas valve switch to clear any gas. During normal operation, the combustion air inducer shuts off 30 seconds after thermostat demand is satisfied. After the gas valve is de-energized, the system fan shuts off approximately 150 seconds later. These timed sequences help explain why shutdown doesn’t mean every component stops immediately.
For a commercial facility, document the selected model, mounting location, vent route, drain location, and electrical coordination in the installation plan. Compare each detail with the unit’s requirements before startup. This record gives facility managers a clear reference for the installed setup and helps coordinate the trades involved.
Supreme Mechanical Solutions: Air Conditioning
Supreme Mechanical Solutions helps commercial operators plan air conditioning to complement a building’s heating system. If unit heater work is happening alongside cooling upgrades, consider how rooftop units, split systems, or mini-split systems suit the facility’s layout and operating needs.
A restaurant or warehouse, for example, may need heating and cooling planned around distinct work areas and daily schedules. Supreme Mechanical Solutions provides commercial air-conditioning systems, including rooftop units, split systems, and mini-split systems, for businesses across the Kansas City metro in Kansas and Missouri.
Plan the Next Heating and Cooling Step
Use the installation plan as a working reference for future facility decisions. Keep the selected unit information and layout details with your building records so maintenance teams can understand how the heating equipment fits the space. When operating needs change, revisit how heating and cooling work together, especially in areas with different schedules or occupancy patterns.
For commercial buildings that also need cooling, Supreme Mechanical Solutions provides air conditioning systems, including rooftop units and split systems. Considering heating and cooling together helps facility managers plan for the building as a whole. A clear overview of the space, operating priorities, and planned work is a practical starting point for discussing the next step.
With a clear plan, you can move forward with a better understanding of the equipment and your facility’s needs.


